
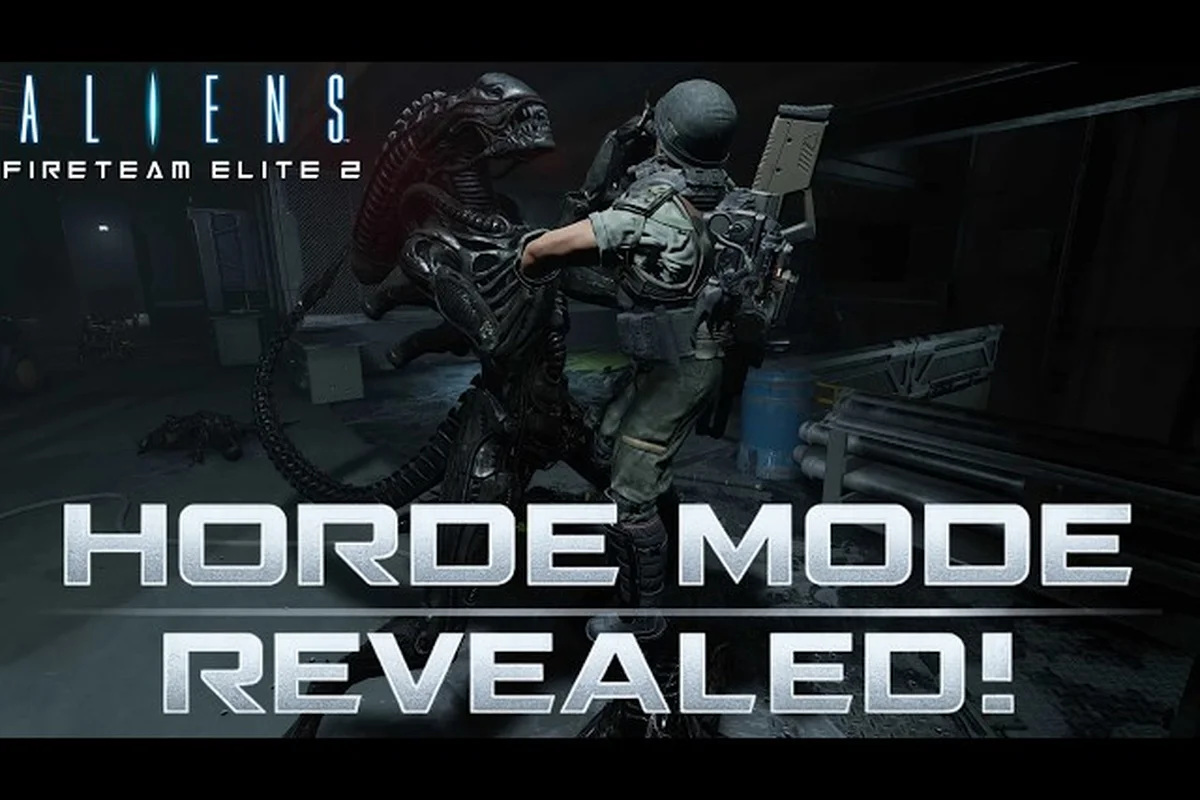
Horde mode in Aliens Fireteam Elite 2 isn't just about shooting everything that moves — it's about surviving the relentless waves with limited resources against increasingly intelligent Xenomorphs. The four-player co-op expansion, launching August 25, 2026 on Steam, Epic, PS5, and Xbox Series X|S, doubles the fireteam size from the original game while quadrupling enemy counts and AI aggression, according to the official Steam listing. If you want to survive horde mode and reach the higher reward tiers, you need a plan that covers ammo management, positioning, and class synergy before the first wave even starts. This guide breaks down the exact mechanics, loadout choices, and tactical decisions that separate teams who extract from those who get overrun.
Why Surviving Horde Mode Demands a Different Mindset Than Campaign Missions
Campaign missions in Aliens Fireteam Elite 2 reward aggressive play — pushing forward, clearing rooms, and completing objectives under time pressure. Horde mode inverts every one of those priorities. You're not advancing toward an objective; you're holding a fixed position while the director throws increasingly dangerous combinations of Xenomorphs at you. According to PC Gamer's preview coverage, Director Chris Cross emphasized that enemy AI is "smarter, more aggressive, and more responsive to player tactics" compared to the original game, which means the same strategies that worked in the first Aliens Fireteam Elite will get you killed here.
The fundamental shift is resource economics. In campaign missions, you can scavenge between fights and restock at checkpoints. In horde mode, every bullet, every consumable, and every ability charge must be budgeted across multiple waves with no guaranteed resupply between them. The team that wins isn't the one with the best aim — it's the one that makes every shot count and rotates firing duties so no single player runs dry during a critical push.
The Wave Structure You Need to Understand Before Wave 1
Horde mode operates on a predictable wave pattern that you must internalize before you survive horde mode for the first time. Each wave follows a fixed sequence of enemy types and spawn locations, so learning the rhythm is key to managing ammo and positioning effectively.
-
Standard waves — 3-4 minutes of escalating Xenomorph pressure with mixed enemy types, designed to drain your ammo reserves steadily.
-
Boss waves — Every fifth wave (Wave 5, 10, 15, and beyond) introduces a heavy unit like a Praetorian or new enemy variants unique to Aliens Fireteam Elite 2, requiring focused fire and crowd control coordination.
-
Filler waves — Brief 20-30 second windows between waves where ammunition drops appear, but only in specific locations that shift each time, forcing your team to make positioning decisions on the fly.
The cadence matters because it dictates when you can afford to use heavy weapons versus when you need to conserve. Wasting heavy ordnance on standard waves leaves you defenseless against the boss wave, while hoarding everything for the boss risks being overrun by the standard wave's sheer numbers. Community testing from the beta branch suggests teams that maintain a 70/30 split between primary fire and heavy ordnance across standard waves survive longest, adjusting to 50/50 during boss waves.
Critical Ammo Management Techniques for Extended Survival
Ammo management is the single most common reason fireteams fail to survive horde mode, based on community reports from the technical test. The game gives you three ammo pools — primary weapon, secondary weapon, and heavy weapon — and each depletes at different rates depending on your loadout and firing discipline. Pulse rifles chew through ammo faster than you'd expect when you're suppressing a hallway, while shotguns and heavy weapons demand precision because their reserve capacity is drastically lower.
The critical technique is alternating fire lanes with your teammates. Instead of four players all shooting at the same group of Xenomorphs, assign each player a lane or sector, then rotate who is actively firing while others reload or switch to sidearms. This creates a continuous fire curtain without the entire team hitting empty simultaneously. Players who practice this coordinated rotation report ammo lasts 40-50% longer across identical wave counts, which is often the difference between surviving to wave 10 versus being wiped at wave 7.
Elemental Ammo Rotation Strategy
Aliens: Fireteam Elite 2 introduces elemental ammo that interacts with different Xenomorph types in unique ways. Here's the elemental ammo rotation strategy that community players recommend for horde mode: cycle between fire, electric, and acid rounds based on the dominant enemy type in each wave to maximize damage and crowd control.
| Element | Best Against | Ammo Efficiency | Recommended Class |
|---|---|---|---|
| Incendiary | Swarmers, Runners (DoT stacks) | High sustained damage, low burst | Machinist |
| Cryo | Praetorians, Heavies (slow effect) | Control-focused, moderate damage | Specialist |
| Shock | Shielded variants, Drones | Medium damage, interrupts attacks | Hunter |
| Acid | Armored enemies, Elite units | Armor penetration, high burst | Marauder |
The rotation principle is simple: never commit to a single element for the entire match. Waves shift enemy compositions, and the elemental weaknesses shift with them. Teams that lock in one element get destroyed when the director throws a wave composition that resists it. Instead, coordinate with your team so at least two elements are always active in different fire lanes, then adjust based on what the current wave is spawning.
Elemental ammo also consumes more inventory space than standard rounds, which creates a trade-off. Carrying full elemental reserves limits how many medkits and consumables you can bring, while skimping on elemental ammo leaves you vulnerable to armored enemies. The community consensus is to carry two elemental types per player (primary and secondary), keeping heavy weapon ammo standard for maximum damage output against boss units.
Building the Optimal Horde Mode Loadout
Your horde mode loadout needs to balance sustained damage, burst potential, and utility — which is a different calculation than campaign missions. The horde mode strategy guide covers class builds in detail, but the core principle is that sustained DPS beats burst damage in standard waves, while the reverse is true for boss waves. You need both, which means your primary and secondary weapons should cover different damage profiles.
Let's break down the best weapons for horde based on community testing and weapon stats. The pulse rifle excels at sustained DPS, the smart gun provides reliable auto-aim for swarms, and the flamethrower is ideal for close-range area denial, while heavy weapons like the minigun shine in later waves.
| Weapon Type | Role | Ammo Efficiency | Best For | Pairing Recommendation |
|---|---|---|---|---|
| Pulse Rifle | Standard wave clearing | 8/10 | Runners, Swarmers | Heavy weapon for bosses |
| Smartgun | Sustained suppression | 7/10 | Mixed waves, large groups | Secondary as backup |
| Shotgun (auto) | Close-quarters control | 5/10 | Breach scenarios, Spitters | Secondary for emergencies |
| Heavy Flamethrower | Area denial | 4/10 | Choke points, boss adds | Swap in for boss waves |
A balanced horde mode loadout pairs one high-sustainability primary (pulse rifle or smartgun) with one burst-capable secondary (shotgun or revolver) and a heavy weapon chosen based on your class role. The Marauder benefits from the flamethrower's area denial, while the Machinist gets more value from a missile launcher or minigun for sustained suppression. The Machinist weapons guide breaks down optimal pairings if you're running that class specifically.
Class Assignment for Four-Player Squads
With the fireteam expanding to four players, class composition becomes more flexible — and more important. The six USCM classes (Marauder, Duelist, Machinist, Hunter, Medic, Specialist) each bring distinct strengths to horde mode, and the optimal composition differs from campaign builds:
-
Medic is non-negotiable — the sustain demands of horde mode make a dedicated healer essential for surviving past wave 10.
-
Specialist — brings crowd control and utility that can shut down boss-wave pressure. The Specialist class guide covers the horde-specific build options.
-
Machinist or Hunter — fills the sustained DPS role, with Machinist favoring suppression and Hunter favoring precision elimination of high-value targets.
-
Marauder or Duelist — closes the composition with frontline pressure or flanking damage, ideal for the fourth slot.
The optimal horde composition teams report is Medic + Machinist + Hunter + Specialist, which provides healing, suppression, precision damage, and crowd control. Solo players running aliens fireteam elite 2 horde mode solo will want to lean on the Specialist's turrets and stasis abilities, which compensate for the lack of teammates covering multiple angles — the stasis build guide details the standalone survival configuration.
Positioning and Hold Locations That Maximize Survival
Positioning is where most horde mode runs die. The map generates hold locations that range from excellent to actively hostile, and your team needs to evaluate each one within the first ten seconds of the wave starting. The ideal hold position has three characteristics: a single primary approach lane, limited secondary approach routes that can be covered with one player each, and a fallback position within 15 meters if the primary becomes compromised.
Community players report that elevated positions are dramatically safer than ground-level holds because Xenomorphs have to climb to reach you, which creates predictable approach patterns and funnels them into concentrated fire lanes. However, elevated positions often lack cover from ranged enemies like Spitters, so the position needs overhead protection or a way to break line of sight.
Solo Horde Mode Positional Strategy
Running Aliens: Fireteam Elite 2 horde mode solo requires a completely different positional approach than team play. You must constantly move between choke points, use turrets and drones as decoys, and prioritize self-healing consumables, since you have no teammates to cover your flanks or revive you.
-
Never hold a single fixed position for more than two consecutive waves — solo players need to reposition between waves to prevent the director from learning their pattern and adapting.
-
Use natural chokepoints defensively — find corridors or doorways where Xenomorphs must approach single-file, then back into a corner so you only need to cover one direction.
-
Keep a retreat path clear — always know which direction you'll fall back to if your position gets overrun, and never let enemies surround your retreat route.
-
Place deployable cover strategically — the Machinist's barricades and the Specialist's turrets become force multipliers when placed to create secondary chokepoints rather than blocking your primary line of sight.
The stasis build's area-denial roots let solo players escape bad positions without taking damage, which is why the community consensus places it as the strongest solo horde configuration as of August 2026. Players running solo report that survival to wave 15 is achievable with this loadout, while most other configurations start falling apart around wave 10 due to resource exhaustion.
Advanced Horde Mode Rewards and Scaling Strategies
Horde mode rewards scale with your survival depth, but the reward structure isn't linear — there are significant jumps at specific wave thresholds that make it worth pushing past comfortable stopping points. Based on community data collected during the technical test, the reward tiers follow this pattern:
| Wave Milestone | Reward Tier | Notable Rewards | Difficulty Spike |
|---|---|---|---|
| Wave 5 | Basic | Credits, common attachments | Moderate |
| Wave 10 | Standard | Rare weapon mods, class XP | Significant |
| Wave 15 | Advanced | Epic attachments, cosmetic unlocks | Major |
| Wave 20 | Elite | Legendary weapons, unique cosmetics | Extreme |
| Wave 25+ | Nightmare | Exclusive prestige rewards | Brutal |
The difficulty spike between waves 10 and 15 is the most common extinction point — the enemy composition shifts to include more elites and the director starts using combination attacks that require active coordination to counter. Teams that can push past wave 15 find the rewards become dramatically better, which incentivizes running slightly beyond your comfort zone if your ammo reserves allow.
The scaling system also adjusts enemy health and damage based on team composition. A full four-player team faces enemies with roughly 2.5x the health of solo enemies, but the friendly AI companions in solo mode don't contribute meaningful damage — they mostly serve as bullet sponges and aggro magnets. This means solo players need higher per-shot efficiency than team players, reinforcing the importance of precision weapons like the DMR or precision shotgun for aliens fireteam elite 2 horde mode solo runs.
If you're new to horde mode and want a more detailed breakdown of class builds, loadout synergies, and wave-by-wave tactics, the comprehensive horde mode strategy article covers beginner through advanced approaches in depth. The key takeaway for every player, regardless of experience: horde mode in Aliens Fireteam Elite 2 rewards preparation over reaction. The director punishes teams that improvise; it rewards knowing wave compositions, maintaining ammo discipline, and positioning before the chaos starts.
What's your current best wave in horde mode — and did your team get overrun by lack of ammo or a positioning mistake? Drop your story in the comments to help other marines learn what not to do, or share this guide with your fireteam so everyone arrives prepared on launch day.
Frequently Asked Questions
What is the best class for surviving horde mode in Aliens Fireteam Elite 2?
The Medic is the strongest mandatory class because horde mode's sustained pressure demands consistent healing output. However, for solo play, the Specialist outperforms other classes thanks to deployable turrets and stasis abilities that compensate for missing teammates, making it the community's top recommendation for solo survival runs.
How long do I need to survive to get the best horde mode rewards?
The most valuable rewards unlock at wave 15, which requires roughly 45-60 minutes of sustained play. While wave 10 gives standard rewards, the jump to legendary weapons and exclusive cosmetics happens at the wave 15 threshold, and the reward quality continues scaling significantly beyond that point.
Is ammo scarcity actually a problem in horde mode?
Yes, ammo management is the primary survival constraint in horde mode. Resupply drops appear only between waves at shifting locations, and carrying elemental ammo reduces your total inventory capacity. Teams that coordinate fire lanes and rotate reloads report up to 50% longer ammo sustainability compared to uncoordinated squads.
Can I play horde mode solo without AI teammates?
Yes, horde mode supports solo play with friendly AI companions, but the AI doesn't contribute meaningful damage — they serve primarily as aggro magnets. Solo players need precision weapons and strong crowd-control builds like the Specialist's stasis configuration to compensate, and even then, surviving beyond wave 15 requires exceptional positioning discipline.
Do elemental ammo types matter for horde mode?
Absolutely. Different Xenomorph types have distinct elemental weaknesses, and teams that lock into a single element get destroyed when wave compositions shift. The optimal strategy is rotating elemental ammo across your squad so at least two elements are active in different fire lanes at all times, then adjusting as the director changes enemy spawn compositions.