
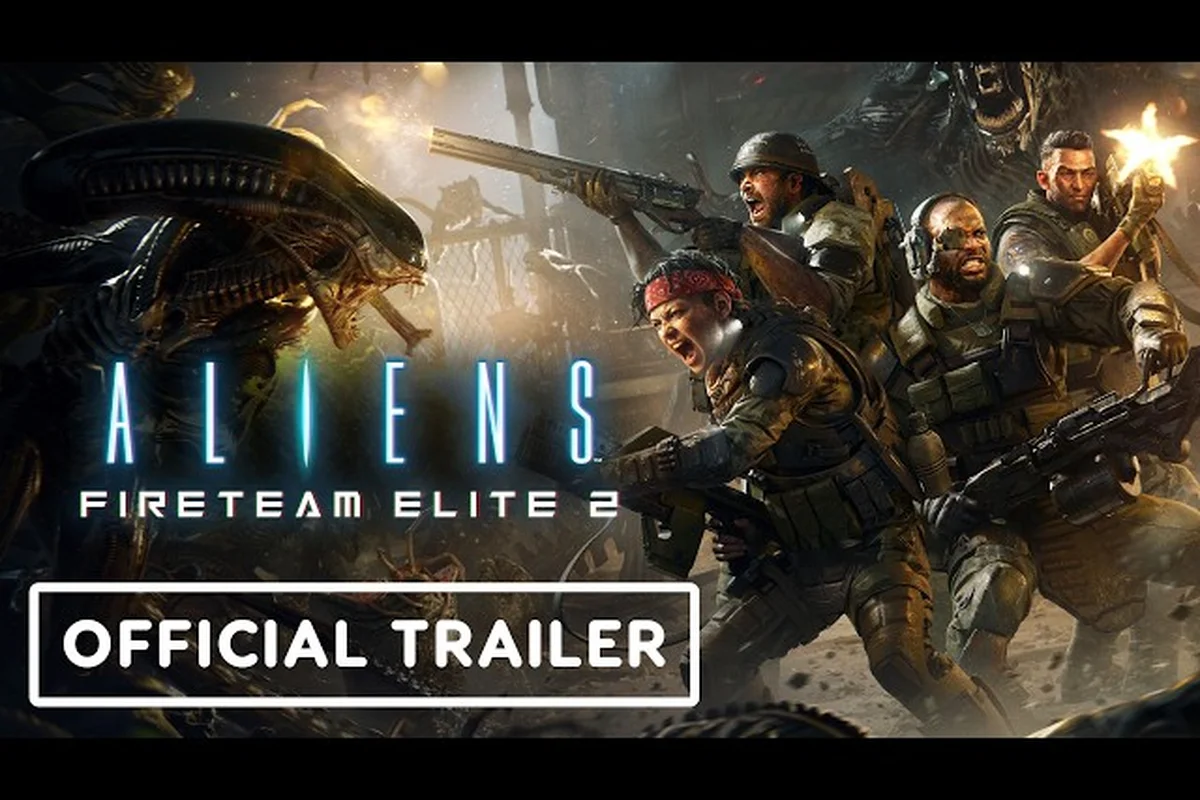
The Aliens Fireteam Elite 2 USS Endeavor explained in plain terms: it's your mobile base of operations between missions, and it's packed with more utility than you might expect on first arrival. The ship serves as the central hub where you manage your marine, spend hard-earned currency, and fine-tune your loadout before heading back into the xenomorph-infested corridors of LV-558. Understanding the USS Endeavor hub early makes a measurable difference in how smoothly your first few deployments go, so this guide breaks down every station and service available before you board the drop ship.
Most new players rush straight to the mission console and skip the surrounding facilities, which costs them free upgrades and valuable prep time. Get the latest walkthrough of each vendor, cosmetic station, and pre-mission service, then use this hub efficiently every single run.
Navigating the USS Endeavor Hub Layout
The USS Endeavor hub is organized into distinct zones, and knowing where everything sits saves you from wandering the corridors between drops. The central atrium houses the most frequently used services, while specialized stations sit in adjacent rooms that are easy to miss on your first visit. According to community reports, players typically spend three to five minutes per visit doing maintenance between missions, and that time shrinks dramatically once you memorize the layout.
Key hub zones on the USS Endeavor:
-
Mission Console — located at the far end of the main atrium, this terminal starts campaign missions and horde mode sessions.
-
Armory Station — the weapon and gear management terminal sits to the left of the mission console, offering loadout slots and attachment management.
-
Class Console — a small terminal near the armory where you switch between the six USCM classes (Marauder, Duelist, Machinist, Hunter, Medic, Specialist).
-
Vendor Row — a corridor branching off the right side of the atrium that contains all three vendors detailed in the next section.
-
Cosmetic Station — tucked behind vendor row, this terminal handles all appearance customization for your marine and weapons.
-
Perk Grid Terminal — near your private quarters, this station lets you rearrange the 42-slot perk grid before each deployment.
The hub also includes a small practice range where you can test weapons and abilities without consuming consumables. This is especially valuable when you pick up a new weapon with unfamiliar handling characteristics, since the Aliens Fireteam Elite 2 loadout system explained by community guides recommends firing a few test mags before committing to a mission. You can monitor the three weapon slots (primary, infinite-ammo sidearm, and Signature weapon) at the armory, then verify your kit at the range before deploying.
Full Vendor Guide for the USS Endeavor
The aliens fireteam elite 2 vendors guide covers three distinct merchants, each with a different currency and purpose. New players often confuse their functions, which leads to wasted resources early on. Here's the breakdown of each vendor and what they actually provide.
Quartermaster Reyes — Credits and Gear
Quartermaster Reyes handles the basic gear rotation, exchanging standard credits for common and uncommon weapons, consumables, and attachment blueprints. His inventory refreshes periodically, and reported patterns suggest the stock rotates every few hours of real time. Credits drop from mission completion and enemy loot, so Reyes serves as your primary sink for surplus currency.
His stock includes a rotating selection of weapons, attachments, consumables, and cosmetic items, refreshed after each mission or when you return to the hangar. This inventory is tied to your current progression tier, ensuring that higher-tier gear becomes available as you advance through the campaign’s difficulty levels.
-
Starter-tier weapons for all three weapon slots, useful when you want to test a new weapon family without crafting.
-
Consumable packs containing ammo refills, medkits, and grenades.
-
Attachment blueprints for common-tier modifications like red dot sights and compensators.
Prices scale with your combat rating, so the same item costs more as you progress — a mechanic that community testing confirms encourages spending early rather than hoarding. This design pushes players to invest in upgrades during the early game, when credits are plentiful relative to gear, and discourages waiting for endgame bargains, as inflation outpaces your earning rate.
Doctor Voss — Medical and Combat Stimulants
Doctor Voss operates the medical station, selling consumables that support both combat and recovery. Unlike Reyes, Voss accepts cryo chips, a secondary currency obtained from completing bonus objectives and harder difficulty missions. His inventory focuses on higher-value items that directly impact survivability.
| Item | Cost | Effect |
|---|---|---|
| Fleet Adrenal | 3 cryo chips | 15% movement speed increase for 30 seconds |
| Combat Stim | 5 cryo chips | +10% damage output for 45 seconds |
| Biogel Injector | 4 cryo chips | Restores 40% health instantly, ignores bleed |
| Nanite Patch Kit | 2 cryo chips | Repairs weapon condition damage |
Doctor Voss also offers a one-time free medical examination that grants a hidden stat boost for your next mission, though community data suggests this bonus is minor and mostly flavor. Still, grabbing it before a tough deployment costs nothing, and it can provide a slight edge in survivability or damage output, making it a worthwhile ritual for players tackling higher threat levels.
The Armorer — Challenge Cards and High-Tier Rewards
The Armorer is the most valuable vendor on the ship, accepting challenge cards earned from achievements, special events, and horde mode wave milestones. These cards can be spent on rare weapon skins, class-specific armor patterns, and Signature weapon upgrade components that don't drop from normal mission loot.
The Armorer's stock rotates weekly, and according to player reports, the most sought-after items are the unique weapon skins with glow effects that telegraph elemental damage types — fire, cryo, electric, and piercing. You can also find challenge card packs here that let you modify upcoming missions with buffs and debuffs for increased rewards, which is a core mechanic explained in our horde mode wave breakdown.
| Currency | Primary Source | Best Use |
|---|---|---|
| Credits | Mission completion, loot | Common gear, consumables (Reyes) |
| Cryo Chips | Bonus objectives, harder difficulties | Rare consumables, attachments (Voss) |
| Challenge Cards | Achievements, horde milestones | Exclusive cosmetics, Signature upgrades (Armorer) |
Complete Marine Cosmetics Customization
The aliens fireteam elite 2 cosmetics guide starts with one hard truth: cosmetics are purely visual, but they carry real progression weight for many players. The Cosmetic Station on the USS Endeavor lets you customize nearly every visible part of your marine, from helmet to boot color. Learning how to customize marine loadouts with the right visual identity matters for squad cohesion, especially when coordinating with three other players in the heat of a xenomorph swarm.
Armor and Helmet Customization
The armor cosmetics system offers separate slots for chest, arms, legs, helmet, and backpack. Each slot accepts both a base armor set and a recolor layer that changes the accent panels. Base sets are earned from mission drops and vendor purchases, while recolor layers come from challenge cards and event rewards.
Customization options include a wide range of armor paints, weapon skins, helmet decals, and emblems, allowing you to personalize your marine’s appearance without affecting gameplay stats. These options are unlocked through campaign progression, challenge card completions, and vendor purchases, giving you flexibility to match your squad’s aesthetic or your own style.
-
Full palette adjustments for primary, secondary, and accent colors.
-
Wear and tear sliders that add battle damage, scorch marks, and xenomorph acid burns.
-
Decal placement for squad emblems and personal insignias on shoulders and helmet.
The recolor system is generous — community testing confirms that most cosmetic items are reusable across all six classes, so the expensive Specialist armor set you unlock by leveling five base classes can be applied to every marine you play after that.
Weapon Cosmetics and Finish Options
Weapon cosmetics follow a similar pattern, with finishes applied at the same Cosmetic Station. Unlike armor, weapon finishes are permanent once applied, so think carefully before committing your rare finish drops. The fire, cryo, electric, and piercing elemental ammo types have matching finish options that telegraph your damage type to the squad — a quality-of-life feature that helps coordinate fire priority on elite enemies.
According to player experience, the most popular weapon finishes are the USCM standard matte for tactical realism and the Xenomorph chitin series for intimidation value. Both are available from the Armorer in exchange for challenge cards, which are earned by completing optional objectives or using specific cards during missions, making them a reward for dedicated play.
Marine Appearance and Identity
You can also customize your marine's face, skin tone, hair, and voice lines at a separate terminal in the same room. This system is entirely depthless mechanically but adds a personal touch to the four-player fireteam experience. The Aliens Fireteam Elite 2 how to customize marine question usually centers on this station, so here's the precise process:
-
Interact with the appearance terminal in the Cosmetic Station room.
-
Select the physiognomy tab to adjust facial features and skin tone.
-
Choose a voice pack from the available selection; some are tied to class unlocks.
-
Save your appearance preset so it applies to all future classes automatically.
Presets are shared across your entire roster, so you don't need to re-customize each class individually. This is a notable improvement over the first game, where appearance settings were per-character, saving time and ensuring a consistent look for all your marines, whether you’re switching between Gunner, Demolisher, or Technician.
Pre-Mission Services and Optimal Hub Efficiency
Beyond shopping and customization, the USS Endeavor offers several pre-mission services that directly affect combat performance. Veteran players develop a consistent hub routine that takes about two minutes and covers every necessary preparation step. Following a structured checklist prevents oversights that could cost you the mission.
Pre-deployment checklist used by experienced players:
-
Visit Doctor Voss to restock fleet adrenals and combat stims for the upcoming mission type.
-
Check Quartermaster Reyes for refreshed attachment blueprints if you're hunting a specific stat roll.
-
Spend any accumulated challenge cards at the Armorer before his weekly rotation resets.
-
Review your perk grid at the terminal if you unlocked new perks since the last run.
-
Test your Signature weapon at the practice range if you've swapped it recently.
The perk grid disassembly option lets you reset your 42-slot grid for a small credit fee, which is worth doing when you're theory-crafting a new build. Community guides for the hardest difficulty missions highly recommend optimizing your grid before attempting Extreme difficulty, since even minor stat adjustments can determine whether you survive a swarm wave.
| Station | Time Needed | Priority |
|---|---|---|
| Vendor Row | 60 seconds | High — check rotations daily |
| Cosmetic Station | 30 seconds | Low — only when you have new items |
| Perk Grid Terminal | 45 seconds | High — optimize before hard missions |
| Practice Range | 90 seconds | Medium — test new weapons |
| Class Console | 15 seconds | Medium — match class to mission |
Optimizing Your Loadout Before each Deployment
Once you've handled the hub services, the real work happens at the Armory Station. This is where the aliens fireteam elite 2 uss endeavor explained guide converges with the game's deeper loadout systems. Your three weapon slots (primary, infinite-ammo sidearm, and Signature weapon) define your combat style, and the hub is the only place you can swap them between missions.
The primary weapon slot is your workhorse — assault rifles, pulse rifles, and heavy weapons occupy this space. The infinite-ammo sidearm never runs dry, making it your fallback when you're suppressed and out of primary ammo. The Signature weapon is unique to your class and offers the most potent abilities, but it's also the most punishing when misused.
Consider your class and elemental ammo composition when building a loadout: for example, a Technician benefits from electric ammo to synergize with turret stuns, while a Demolisher might prefer incendiary rounds to amplify area damage. Matching your weapon’s elemental type to enemy weaknesses—like using acid against armored Synths—can drastically improve mission efficiency, so plan your gear around both your role and the threat you expect to face.
-
Marauder and Duelist benefit from piercing ammo on the Signature weapon to shred through swarms of Runners.
-
Hunter and Specialist excel with electric ammo for crowd control, especially against fast-moving enemy types.
-
Medic players should prioritize cryo ammo to slow elites, giving the squad breathing room for revives.
The practice range is the perfect place to test weapon handling before you commit to a mission. Weapon feel varies dramatically — some pulse rifles have visible recoil patterns that take a few mags to internalize, and the last thing you want is to discover your primary is inaccurate at range after the first swarm engages.
Squad coordination also extends to gear. If you're playing with a regular fireteam, discuss elemental coverage so you aren't all running the same ammo type. A balanced squad with fire, cryo, and electric coverage handles every enemy type more efficiently than a squad running four identical loadouts. For deeper tips on coordinating with teammates, check our co-op revive and squad guide to round out your preparation.
Frequently Asked Questions
Where exactly is each vendor located on the USS Endeavor?
Vendor Row is the corridor on the right side of the main atrium. Quartermaster Reyes sits closest to the atrium entrance, Doctor Voss is in the middle, and the Armorer occupies the far end. The Cosmetic Station is directly behind vendor row through a small door that's easy to miss.
Can I access the hub during multiplayer sessions?
Yes, the USS Endeavor hub supports up to four players in the same session. This is the ideal place to coordinate loadouts and elemental ammo coverage with your squad before deploying together. Session hosts unlock progress for everyone in the hub as long as they're in the same co-op group.
Does the cosmetic station affect gameplay stats?
No, the Aliens Fireteam Elite 2 cosmetics guide confirms that all cosmetic customization at the station is purely visual. Armor appearances, weapon finishes, and marine physiognomy do not alter any gameplay attributes. The only progression attached to cosmetics is the challenge card currency you spend to acquire them.
What happens if I skip the hub and go straight to missions?
You can absolutely skip the hub and still complete missions, but you'll miss vendor rotations, free medical examinations, and the chance to restock consumables. Community consensus is that skipping the hub becomes increasingly painful at higher difficulties, where having the right consumables and optimized perk grid makes a significant difference.
Are vendor inventories the same for every player?
Vendor inventory rotates per player account, so your Quartermaster might stock a different attachment blueprint than your friend's. The community recommends checking vendor stock regularly and sharing useful finds with squadmates, since inventory rotation is account-specific and not synced across players, which makes coordinating purchases worthwhile when you're hunting rare items together.